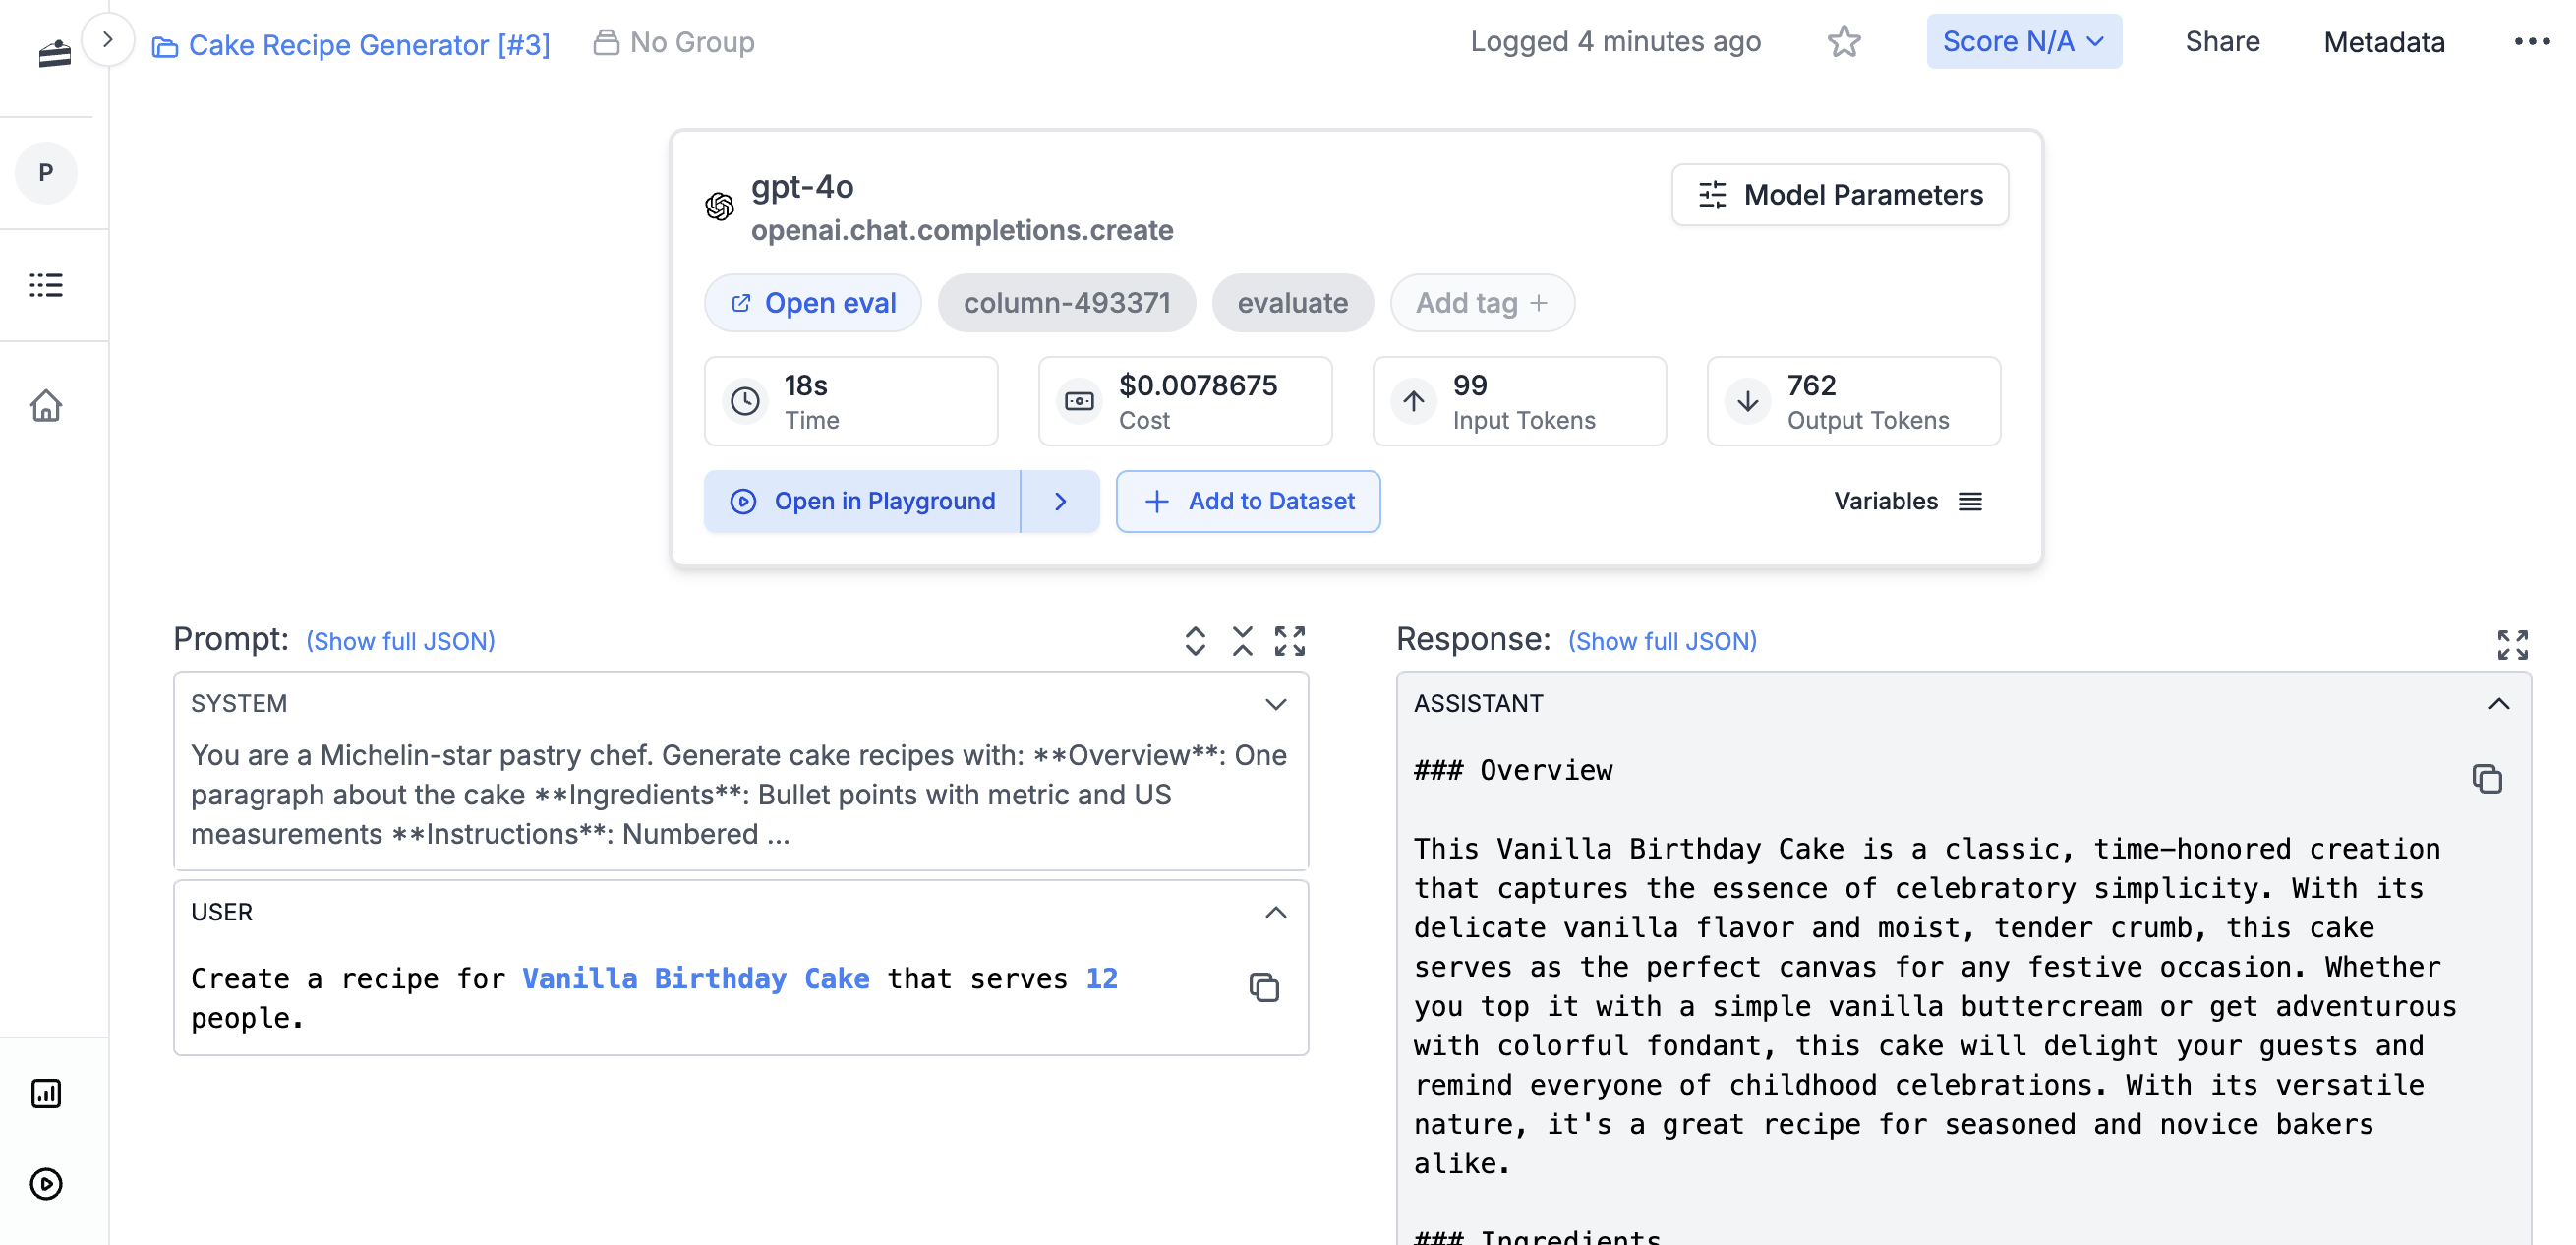
This continues from Quickstart Part 1, where we built a cake recipe generator prompt.
Evaluating a Prompt
Before deploying a prompt, you want to know if it’s actually good. PromptLayer lets you build evaluation pipelines that score your prompt’s outputs automatically.Creating a Dataset
Evaluations run against a dataset - a collection of test cases with inputs and expected outputs. Let’s create one for our cake recipe prompt. Click New → Dataset and name it “cake-recipes-test”.
cake_type, serving_size) and optionally an expected output to compare against:
Sample CSV for cake recipe dataset
Sample CSV for cake recipe dataset
Creating an Eval Pipeline
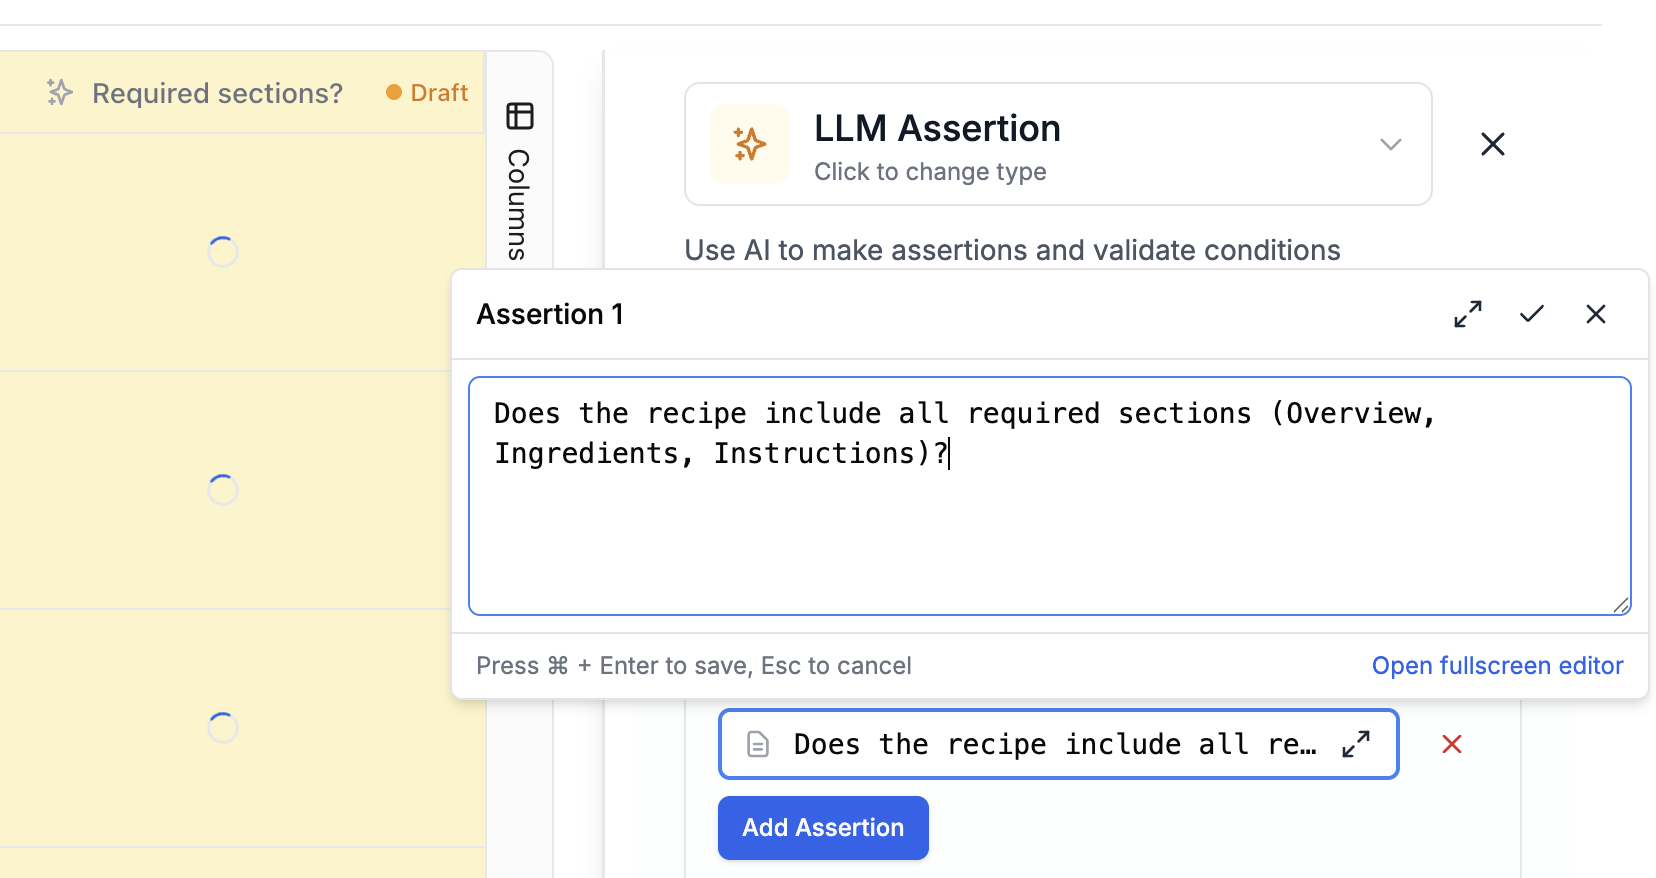
Now let’s build a pipeline that runs your prompt against each test case and scores the results. Click New → Evaluation and select your dataset. First, add a Prompt Template column. This runs your prompt against each row in the dataset, using the column values as input variables. The output appears in a new column. Next, add an LLM-as-judge scoring column. This uses AI to score each output against criteria you define. For our recipe prompt, we might check:- Does the recipe include all required sections (Overview, Ingredients, Instructions)?
- Are measurements provided in both metric and US units?
- Is the serving size correct?
expected_output column in your dataset.

Other evaluation types
Other evaluation types
Beyond LLM-as-judge, PromptLayer supports:
- Human grading: Collect scores from domain experts
- Equality Comparison: Compare outputs to expected results
- Cosine similarity: Measure semantic similarity between outputs
- Code evaluators: Write custom Python scoring functions
Testing Different Models
Want to compare how your prompt performs across GPT, Claude, and Gemini? Create a new evaluation for model comparison. Add multiple Prompt Template columns, each configured with a different model override. The pipeline runs your prompt on each model and shows results side by side.
Historical Backtests
Once your prompt is in production, you’ll have real request logs. Use these to test new prompt versions against actual user inputs.Creating a Historical Dataset
Go to Datasets and click Add from Request History. This opens a request log browser where you can filter and select requests.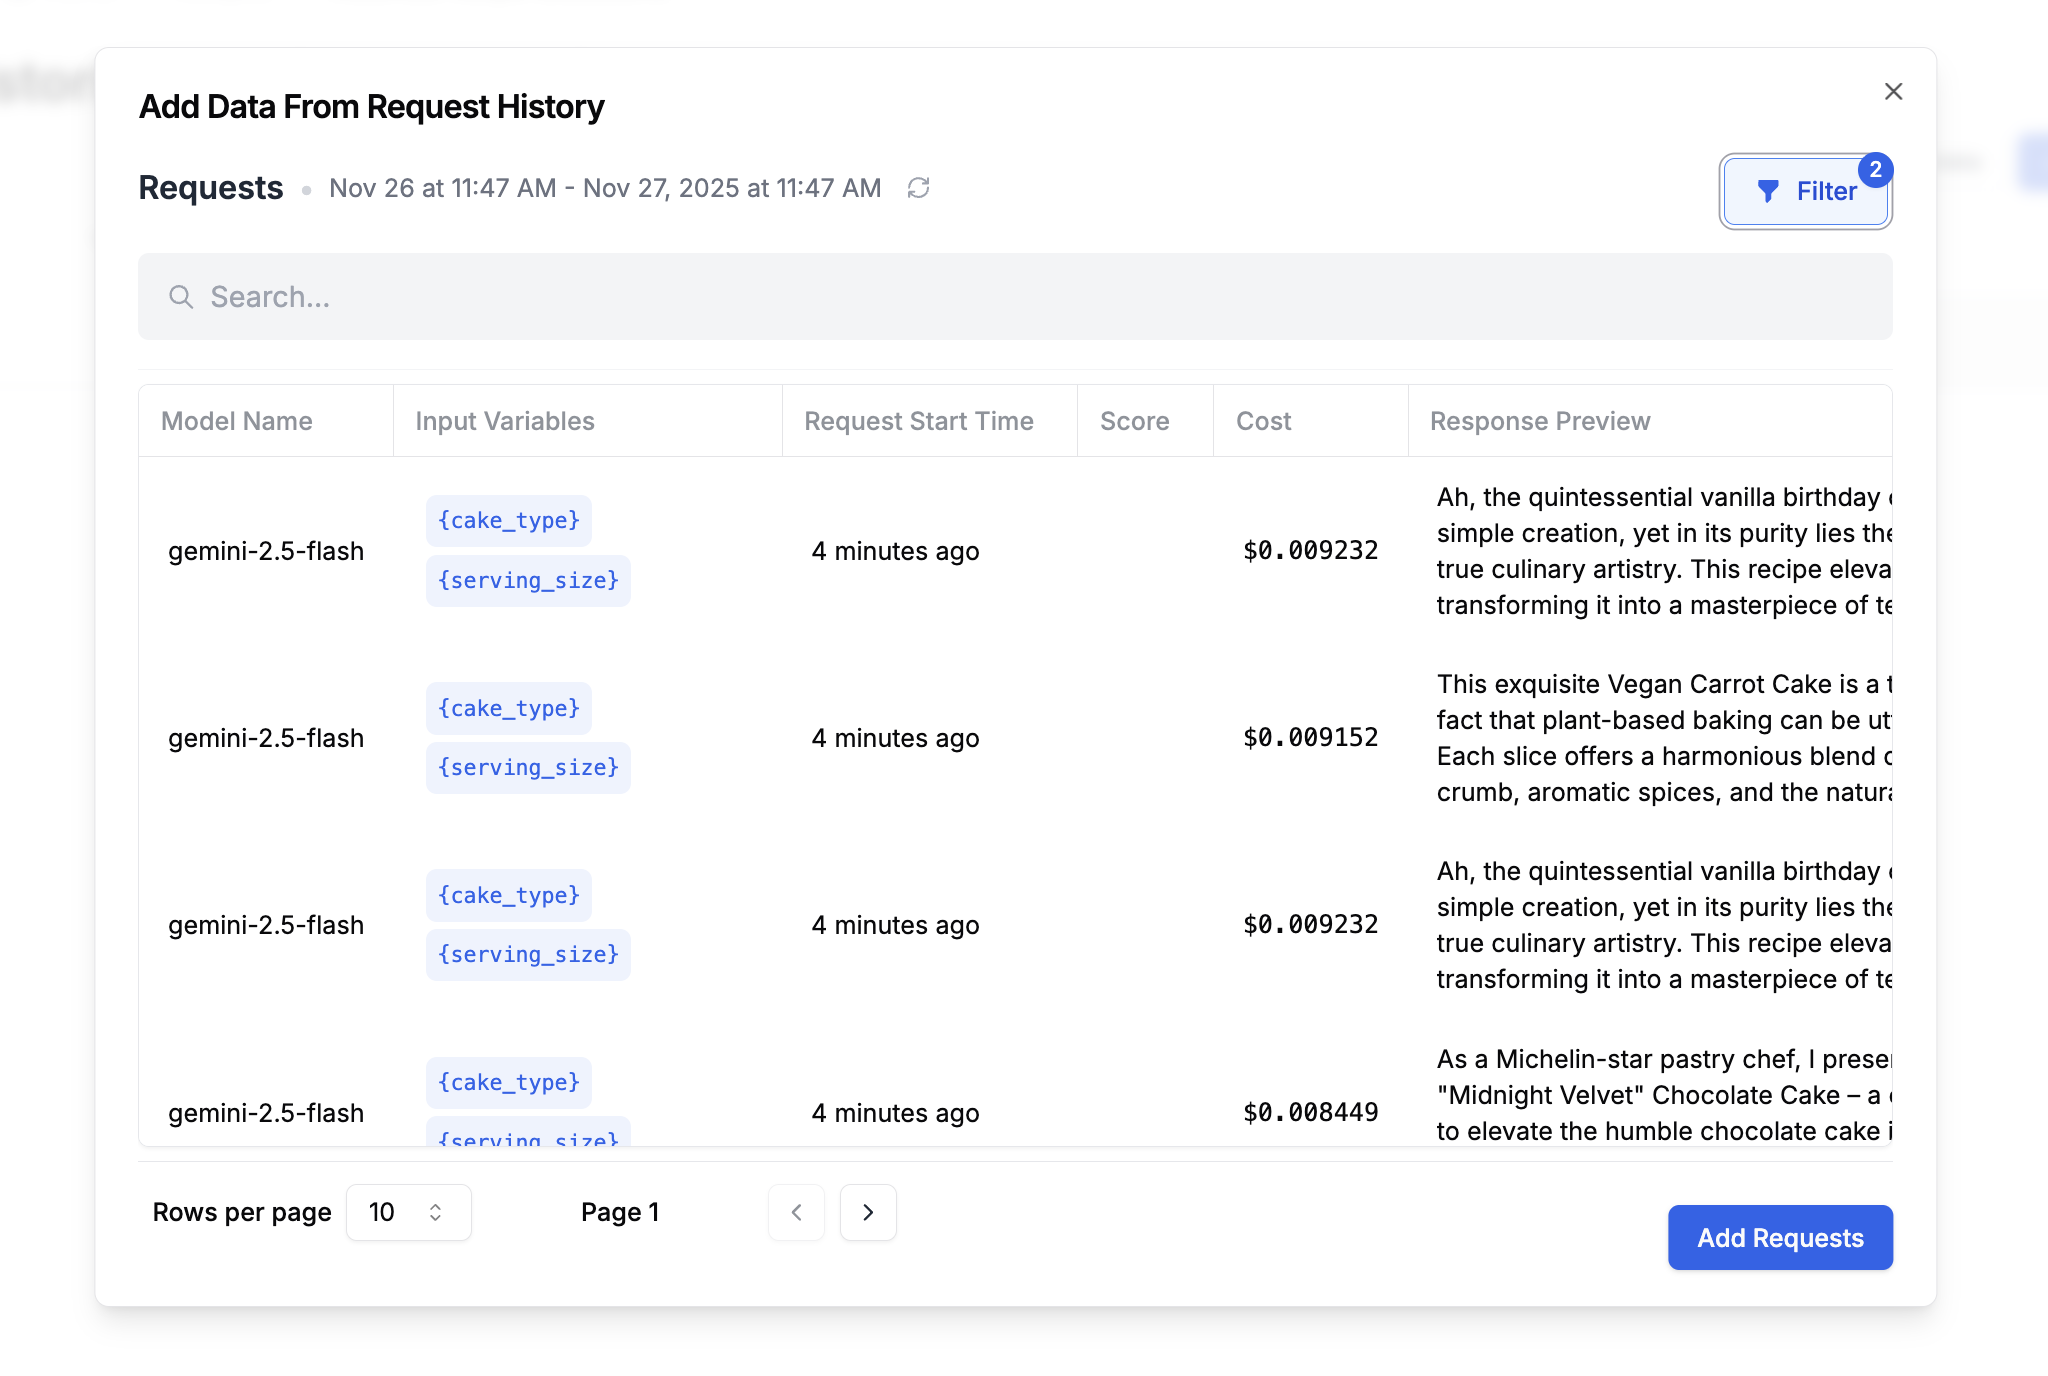
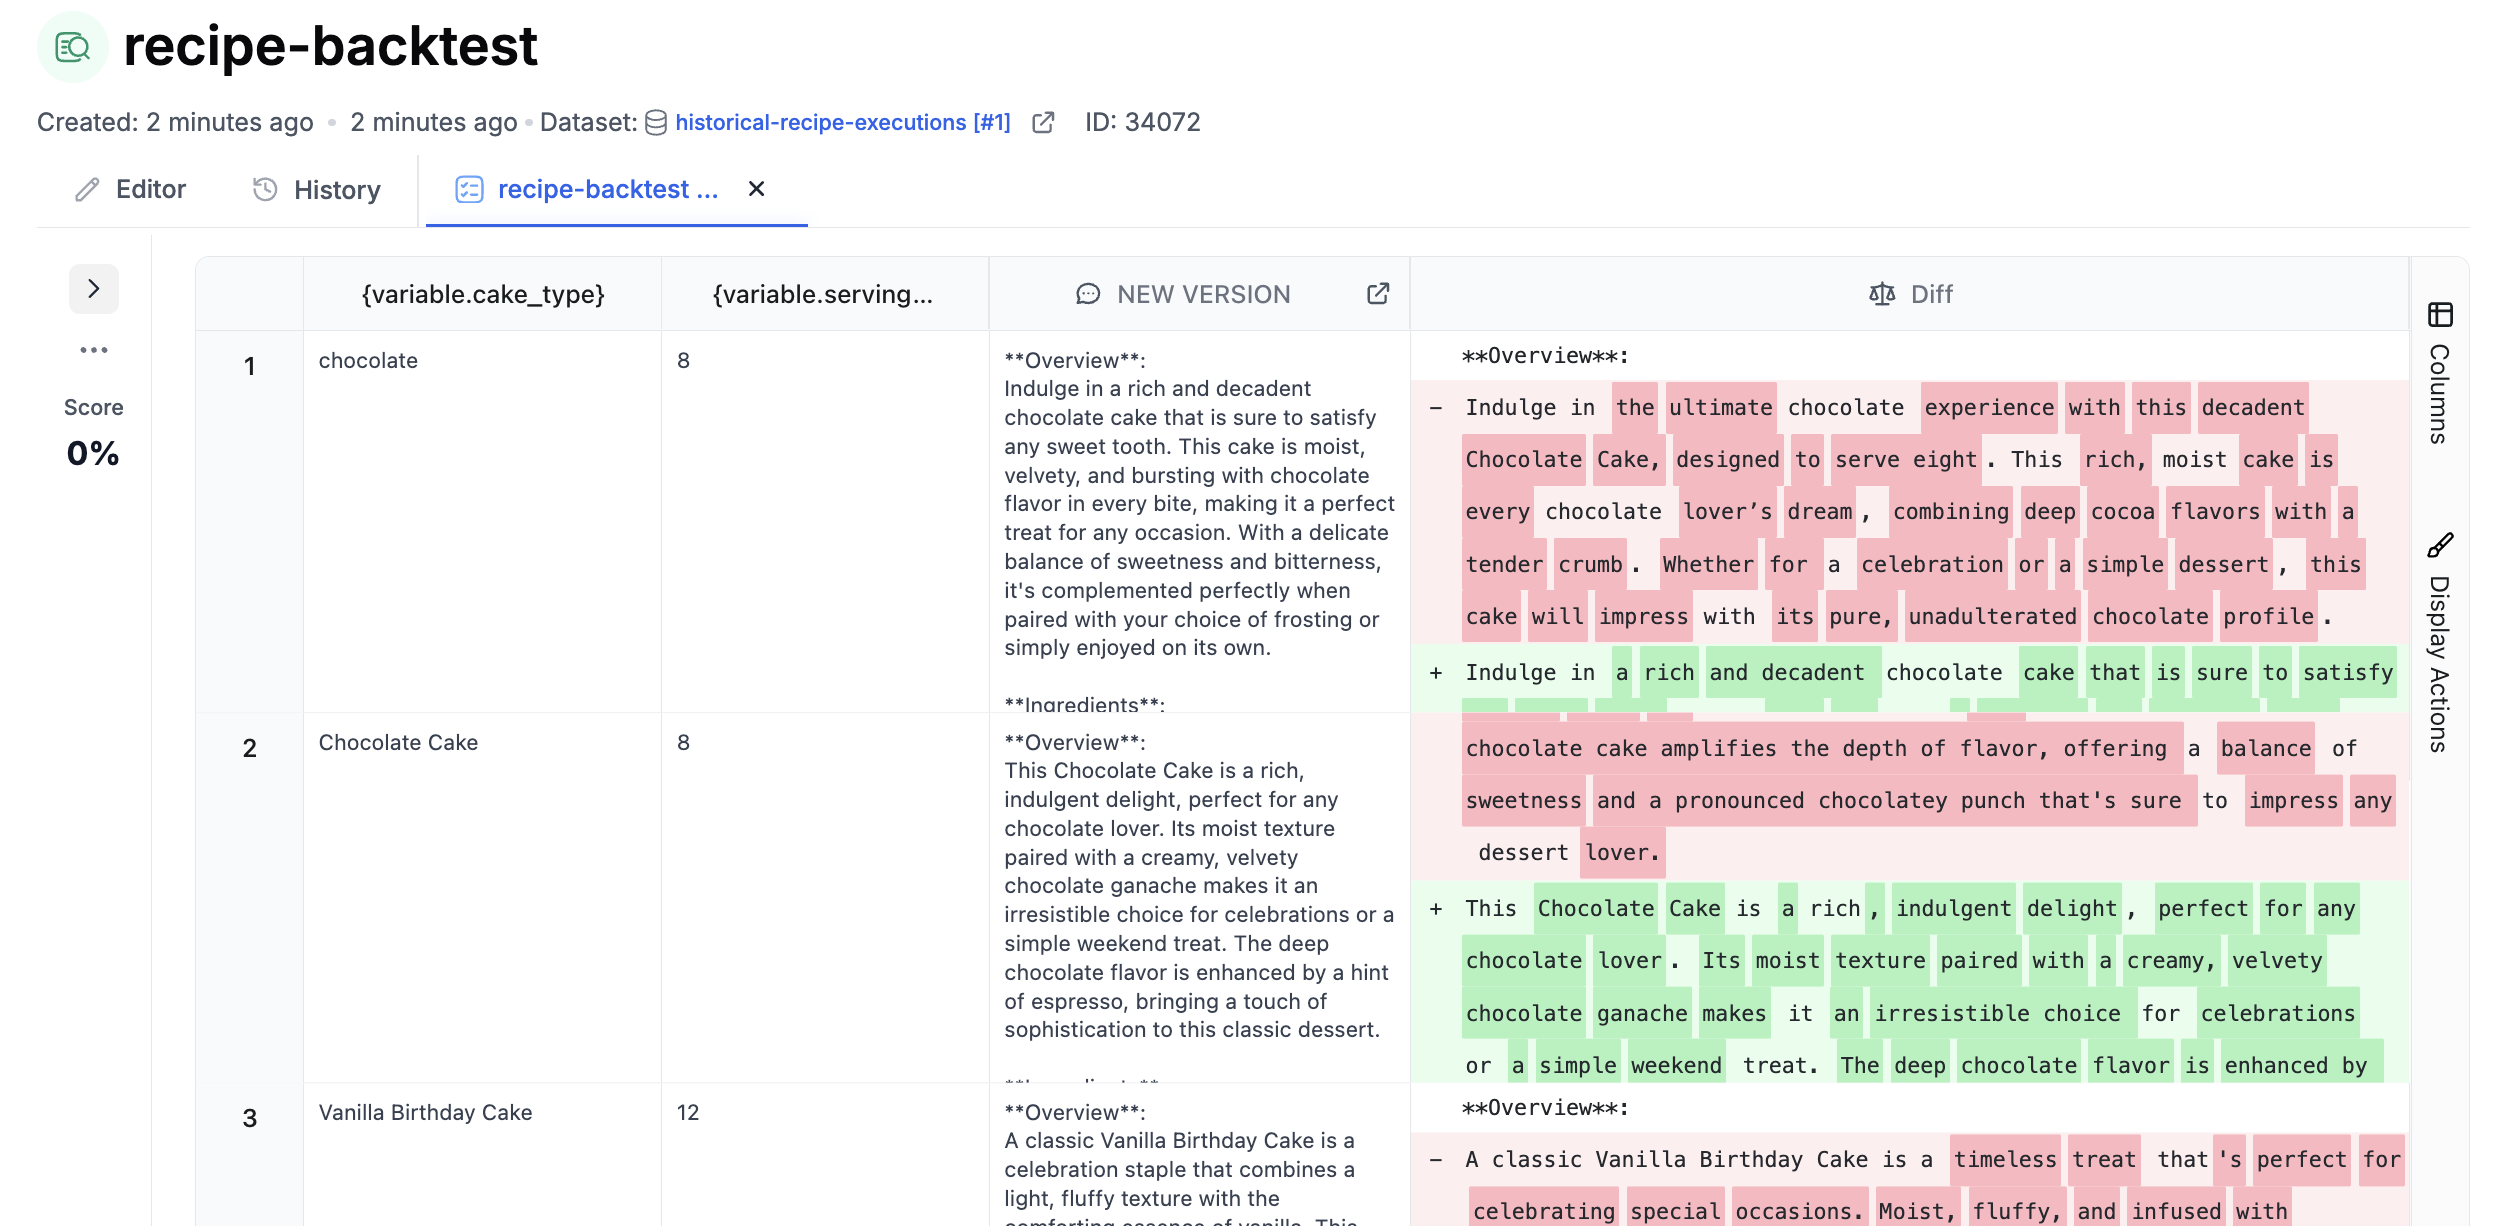
Running a Backtest
Create an evaluation that runs your new prompt version against this historical dataset. Add columns for:- New prompt output: The response from your updated prompt version
- Equality Comparison: Side-by-side comparison highlighting changes from the original output
CI/CD Evaluation
Attach an evaluation pipeline to run automatically every time you save a new prompt version - similar to GitHub Actions running tests on each commit. When saving a prompt, the commit dialog lets you select an evaluation pipeline. Choose one and click Next. From then on, each new version you create will run through the eval and show its score in the version history. This makes it easy to spot regressions before they reach production.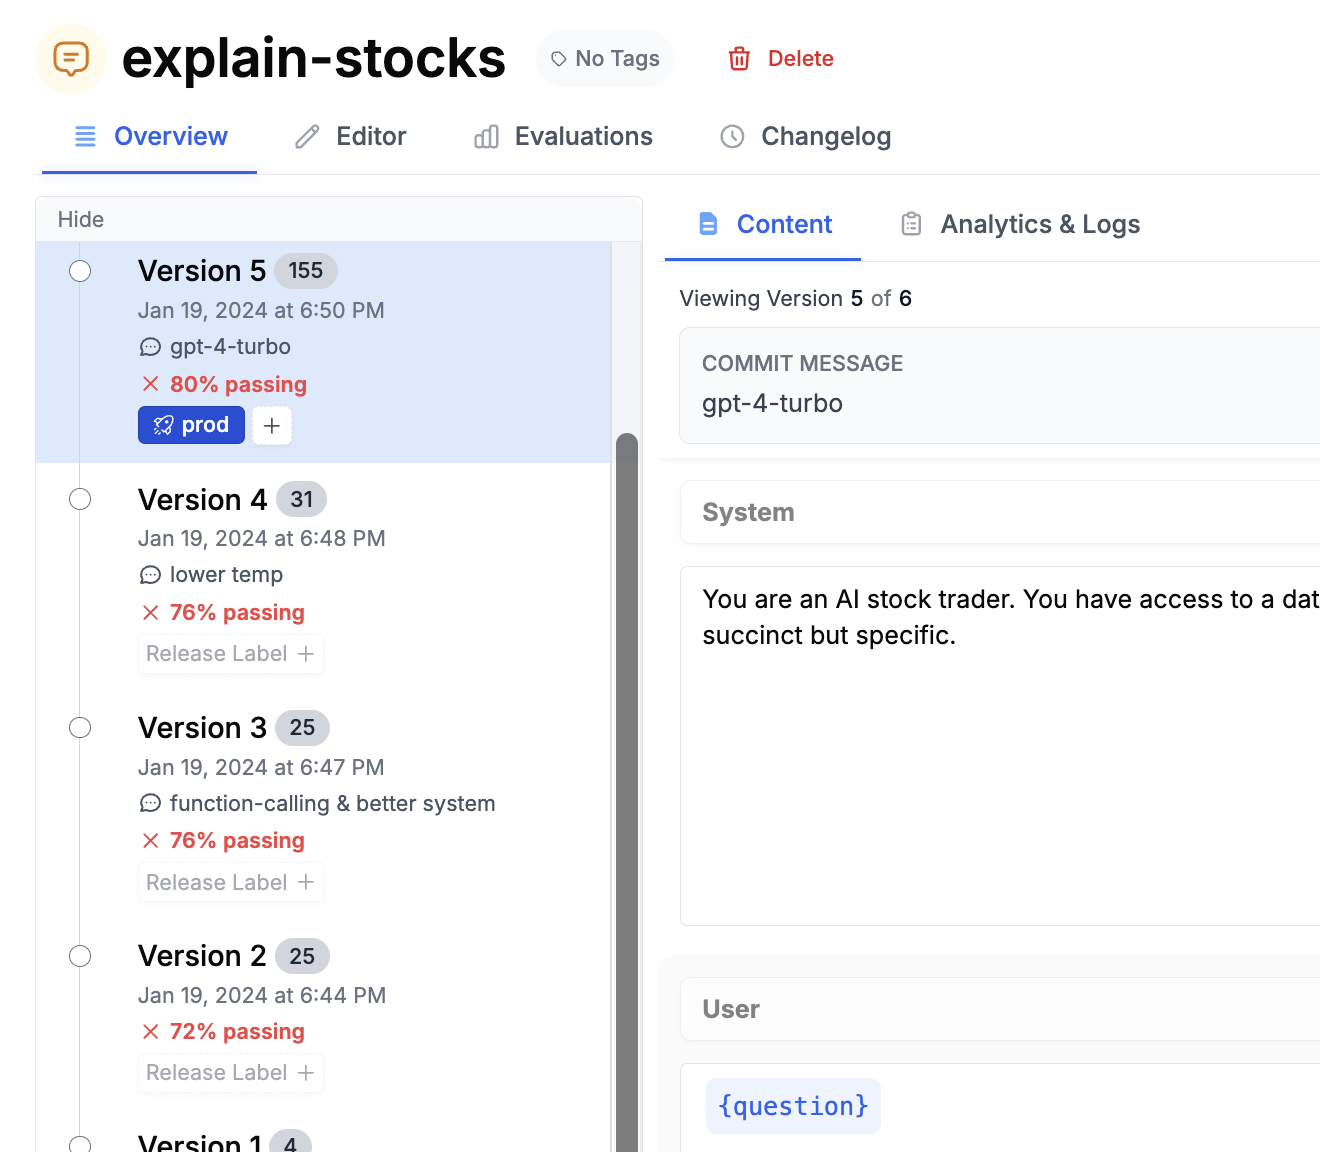
Ad-Hoc Batch Runs
Evaluations aren’t just for testing prompts - they’re one of the best tools for running prompts in batch. Think of it like a spreadsheet where each column can be an AI-powered computation. Upload a CSV or create a dataset, add prompt columns, run the batch, and export the results. Common use cases:- Data labeling: Run GPT over production data to create labeled training datasets
- Research: Use web search prompts to find information about a list of companies or people
- Content generation: Process hundreds of items (commits, support tickets, reviews) to generate summaries or emails
- Data enrichment: Take a list of names and enrich with company, location, or other attributes
Connecting in Code
PromptLayer serves as the source of truth for your prompts. Your application fetches prompts by name, keeping prompt logic out of your codebase and enabling non-engineers to make changes.Installation
Running Prompts
Initialize the client and run a prompt. The SDK fetches the prompt template from PromptLayer, runs it against your configured LLM provider locally, then logs the result back.Output Format
Output Format
The response includes a prompt blueprint - a model-agnostic format that works the same whether you’re using OpenAI, Anthropic, or any other provider. Access the generated content with:This lets you switch models without changing how you read responses.
prompt_release_label="production" to fetch the version labeled for production. Use prompt_version=3 to pin to a specific version number. Agents work the same way - just pass the agent name. Store API keys as environment variables (PROMPTLAYER_API_KEY, OPENAI_API_KEY) - the client reads these automatically.
Metadata and Logging
Add metadata to track requests by user, session, or feature flag: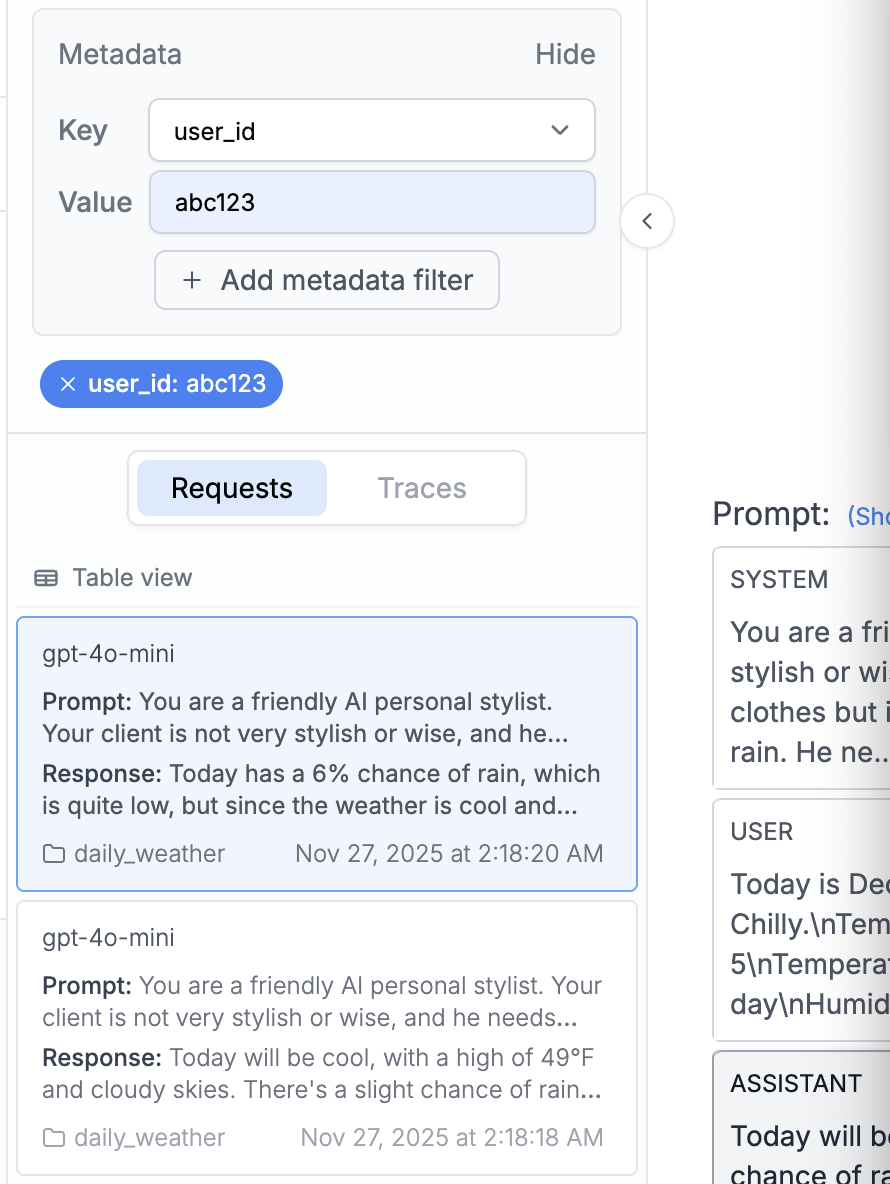
client = PromptLayer(enable_tracing=True) and use the @client.traceable decorator on your functions to see each step as spans. Learn more about traces.
Organizations
Use organizations and workspaces to manage teams and environments. Common setups include separate workspaces for Production, Staging, and Development.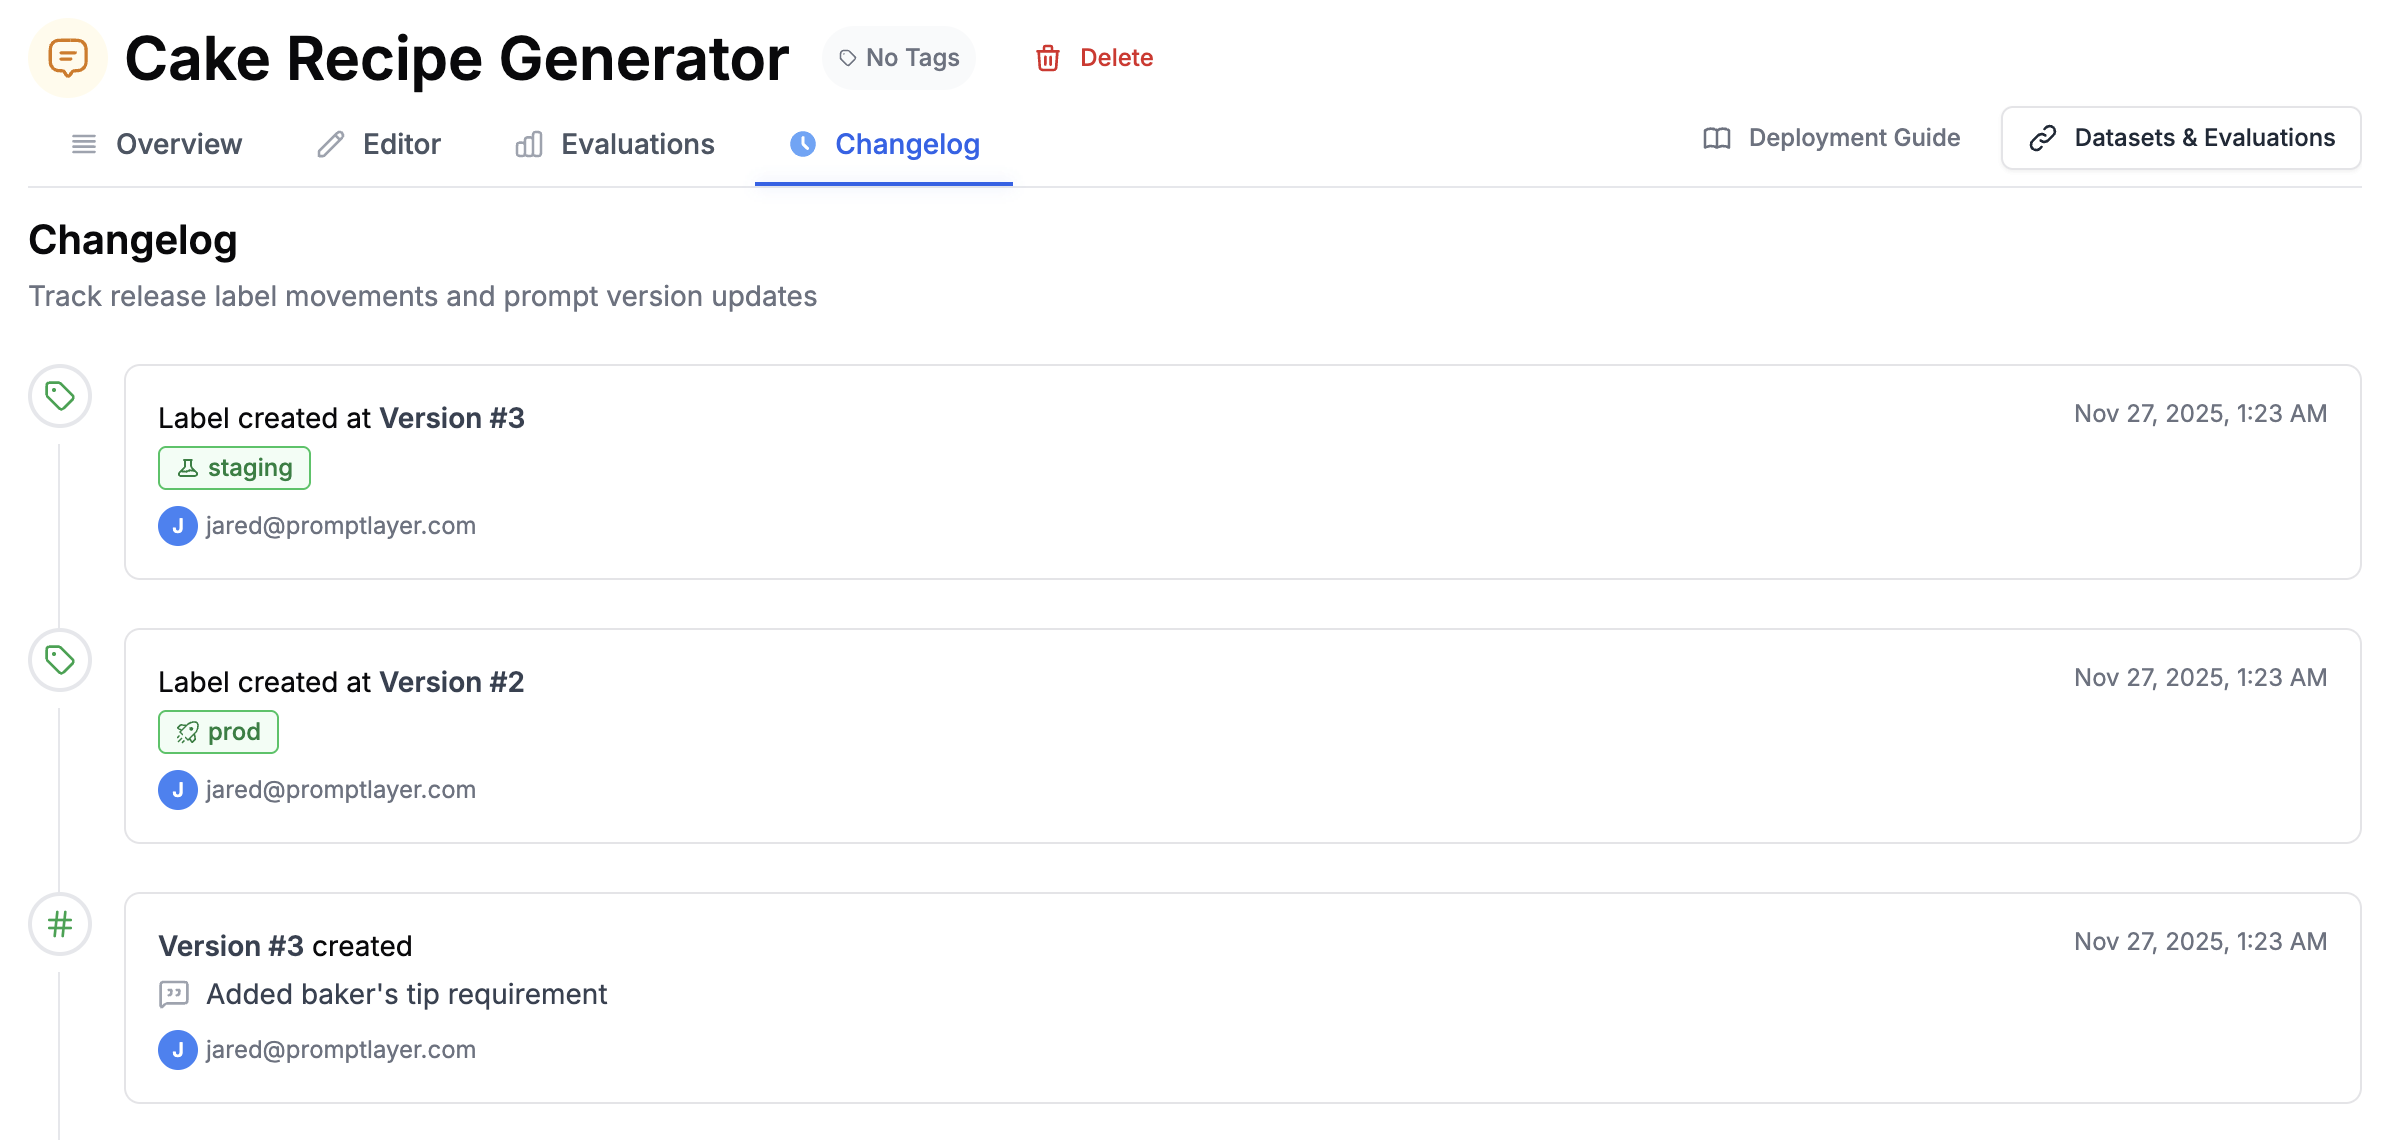
- Role-based access control: Owner, Admin, Editor, and Viewer roles at organization and workspace levels
- Audit logs: Track who changed what and when
- Author attribution: See who created and modified each prompt version
- Centralized billing: Manage usage across all workspaces
Next Steps
- Deployment Strategies - Caching, webhooks, and production patterns
- Tutorial Videos - Watch walkthroughs of common workflows
- API Reference - Full SDK documentation